


1. General Information
2. Engine
3. Accumulator
4. Suspension
5. Frame
6. Brake System
7. LED Optics
8. Control
9. Battery Charger
10. Electronics
Main Controls and Operating Rules
Before Using the Scooter for the First Time, It Is Necessary to:
1. Fully charge the battery.
2. Check the tire pressure (1.8 atmospheres in both the front and rear wheels).
3. Adjust the shock absorbers according to your weight and intended riding style.
Transition from Transport Position to Working Position:
1. Loosen the screws on the middle and upper clamps (see Figure 1).
2. Raise the steering mast to the limiter.
3. Tighten the screws on the middle and upper clamps (see Figure 1).
4. Spread the right and left halves of the handlebars.
5. Tighten the connecting nut (see Figure 3).
Turning On/Off:
1. Press and hold the BMS power button on the back of the deck (see Figure 2) until you hear a beep.
2. Move the onboard computer power button towards the screen.
3. The scooter is ready for use.
Charging:
1. Turn on the scooter.
2. Disconnect the charging station from the scooter (see Figure 1). *Important:* Ensure that the body of the charging device does not contact the scooter’s body.
3. Insert the connector into the wiring connection port (see Figure 4).
– Be sure to open the air ducts to prevent damage to the charging station (see Figure 4).
4. Connect the charging station to the 220V power supply, then insert the connector into the charging port (see Figure 2).
5. The onboard computer’s display will show the charging screen.
6. After the charging process is complete, first remove the connector from the charging port (see Figure 2), then disconnect the charging station from the 220V power supply.
Figures
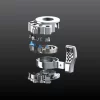
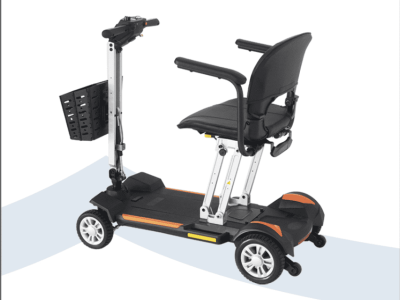
Figure 1. General View:
1. Charging station
2. Middle clamp
3. Upper clamp
4. Back wall of the deck
Figure 2. Back Wall of the Deck:
1. Charging port
2. BMS power button
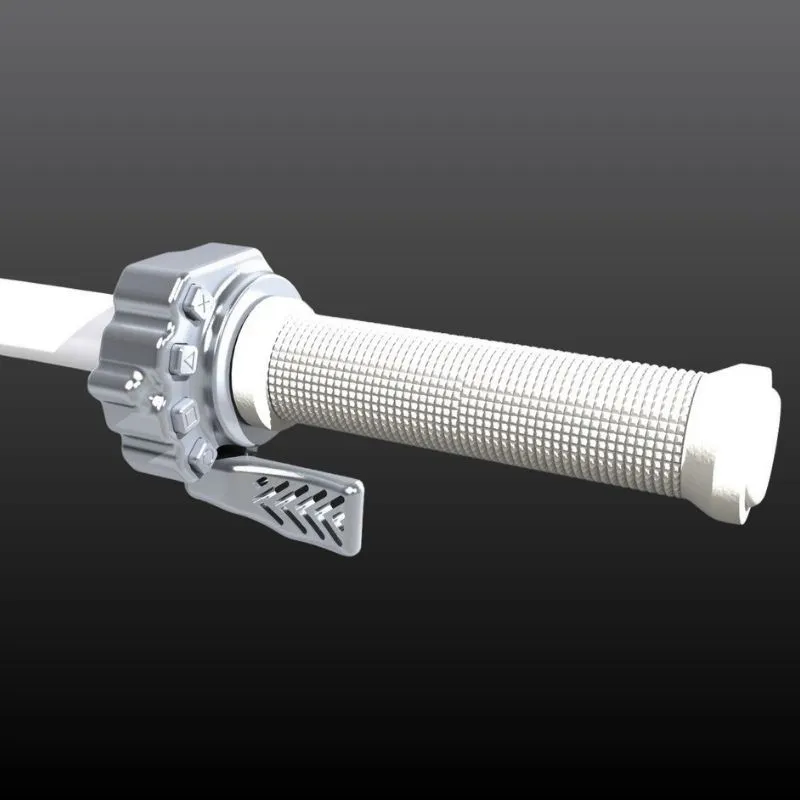
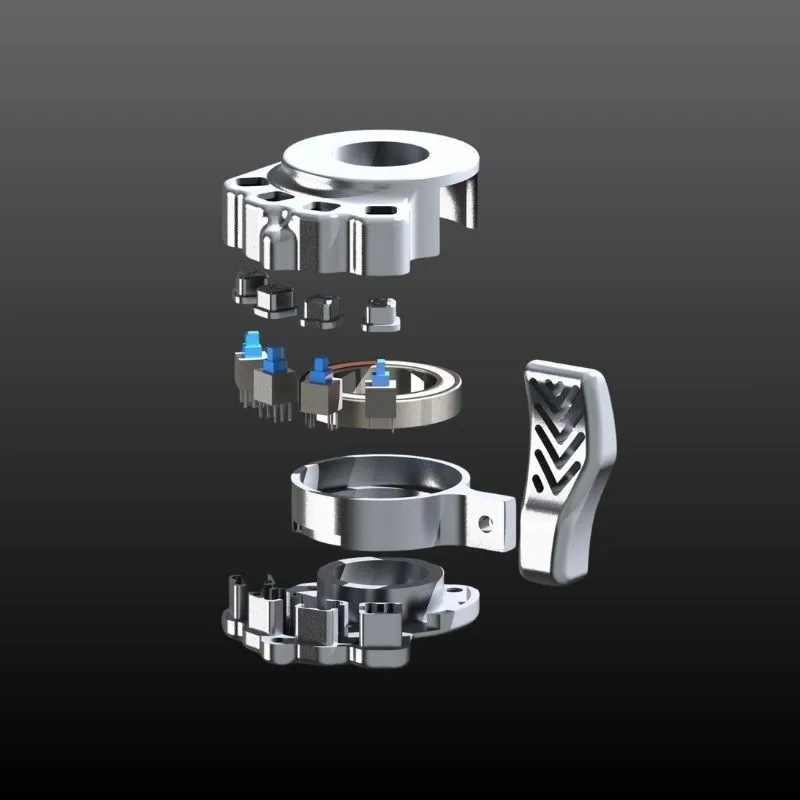
Figure 3. Handlebar:
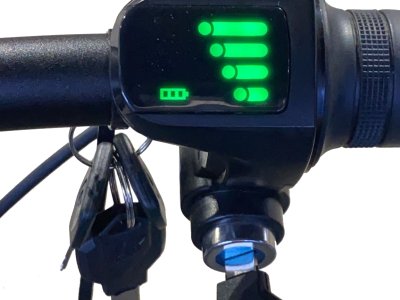
1. Control buttons for the onboard computer (detailed instructions on the onboard computer)
2. Reverse
3. Power on the onboard computer
4. Throttle lever
5. Cooling system power on
6. ”ECO” mode (power and maximum speed limitation)
7. Low beam
8. Electronic brake lever
9. High beam
10. Connecting nut
Figure 4. Charging Station:
1. Wiring connection port
2. Air duct flaps
Precautions:
• Do not leave the scooter unattended while charging.
• Do not press the throttle lever when the charging connector is plugged in (see Figure 2) if the charging station is unplugged from the 220V power supply.


Reviews
There are no reviews yet.